Okay, in my last blog, I said that I could take or leave running water, and I can. I have been without it for so long, that I can just deal with it if I don’t have running water.
With the weather forecast looking so great, I decided that the time had come to de-winterize anyways. So, on a whim I bought everything that I needed to de-winterize and booked a campsite which is year round, meaning that they had full hookups.
I said before, that the process of winterizing is not that difficult, it is crucial, so I say leave it to the experts. In the fall, RV dealerships will typically have a winterizing special.
I say just pay them the cash to make sure that it is done right. In so doing, you will be assured that your pipes and water-pump won’t freeze and crack.
De-winterizing, however, is not all that difficult, so I will show you what I did and essentially what to do.
First of all we need to know what was done during the Winterizing process. First of all, all of the water was drained from: the water lines, the fresh water tank, and the hot water tank.
Throughout the water lines a special type of anti-freeze (water pipe friendly) is run to make sure that the water lines and especially the water pump doesn’t freeze up and crack, yet is not toxic to us. As well the hot water tank is bypassed and a special plug is removed.
So, the first thing I do is to look at the back of the hot water tank. Mine is behind this cover.


You see the hole in the bottom, that is where that special plug goes.

There is a metal finger which sticks into the hot water tank and it is designed to corrode, so that the rest of the hot water tank doesn’t. This should be replaced at least once every two years.

You can see that the one on the left is corroded and the one on the right is new. The white band around the threads of the new metal “finger” or anode is Lithium tape. It is used to seal up the threads so that water doesn’t leak out from around those threads.

The socket that I used was a 1 1/16” socket, this way I could secure that anode tightly into its home. Trust me, trying to use a spanner is next to impossible and turning this with a crescent wrench turning sideways is not fun . . . buy the socket.
Next you connect up the water and of course the sewer connection.

An interesting side-note, I recommend getting this clear section of straight pipe. It is essentially a clear extender, and what this allows me to do is to see clearly when the water stops draining. This way I am not guessing, if the tanks are fully drained or not.
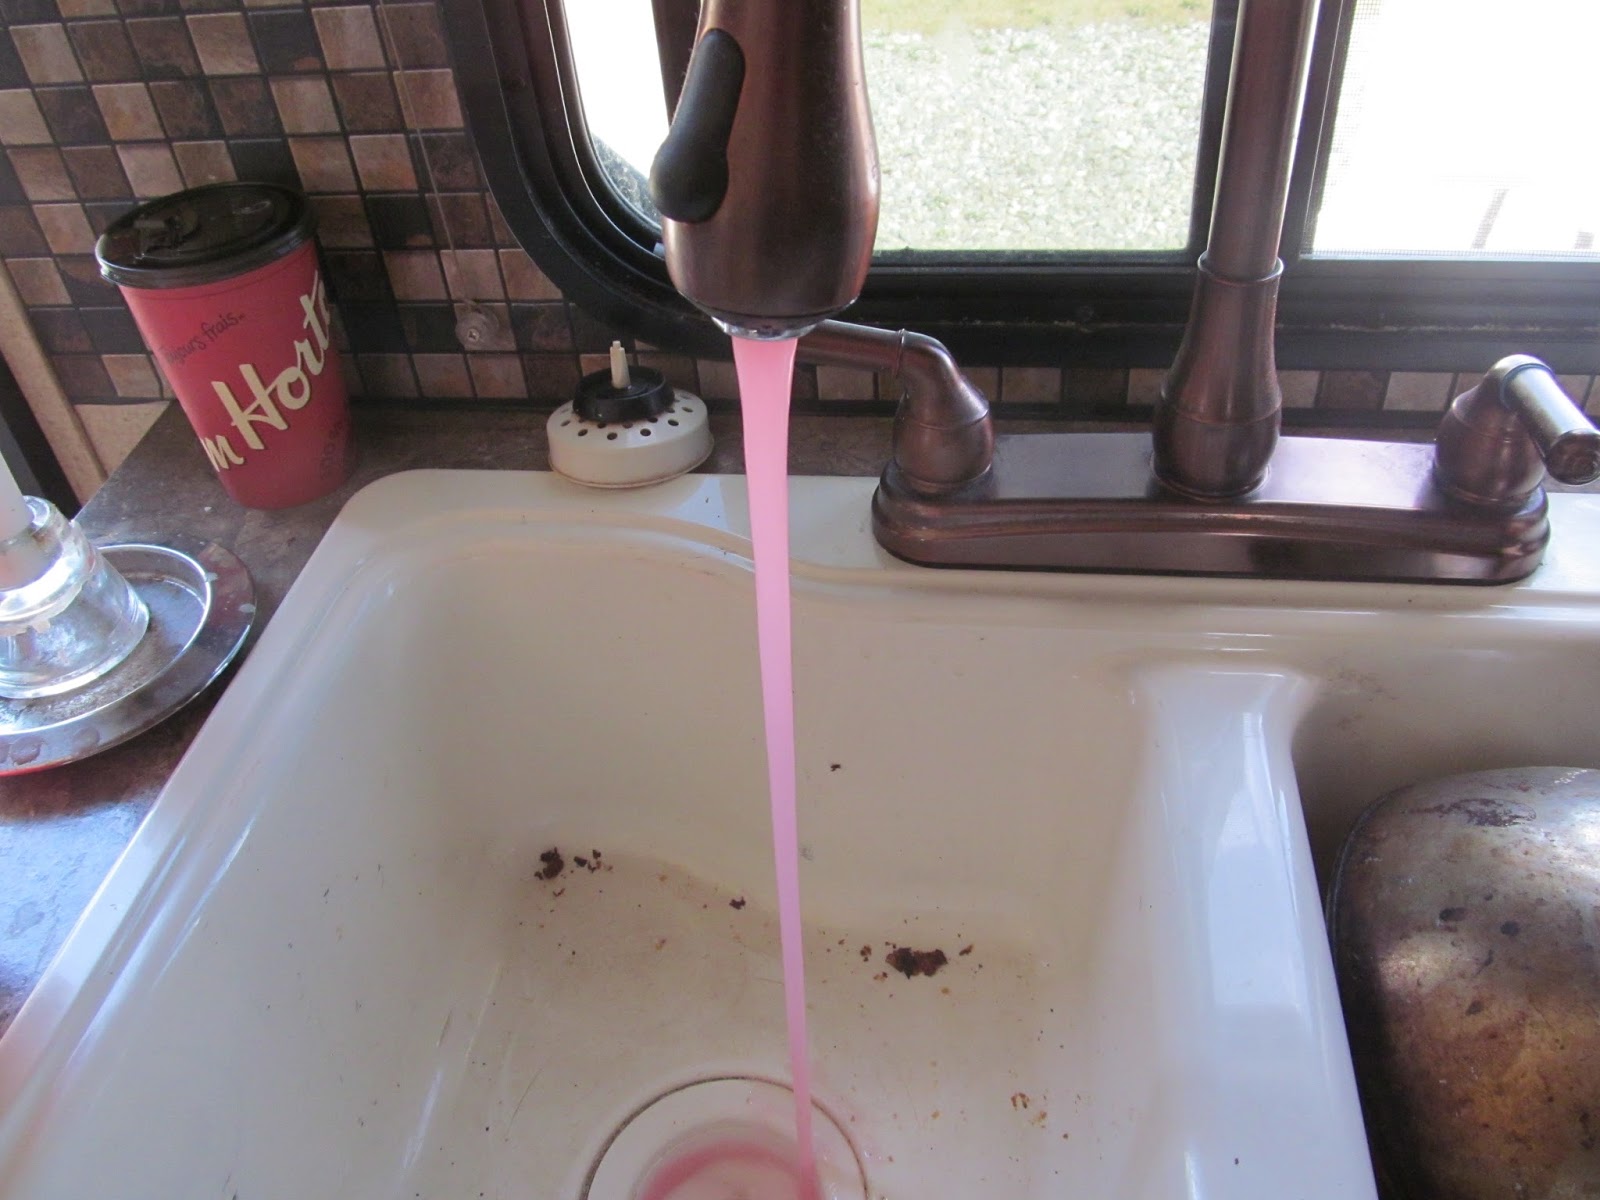
Back to de-winterizing, next we run the water from each tap, at every sink, both hot and cold (one at a time). At first the water will look pink, like this.
After a bit the water will run clear, like this.

After you have done this we need to clear out the water pump. To do this, we need to put water in the fresh water tank. Before you can do this you need to put the plug back in. Attached to the bottom of the fresh water tank is the drain hose. This will let you drain that tank completely.

During the Winterizing process, they will put two items in behind the water tank, one is the anode (metal finger) and the other is the cap. With more lithium tape, put that cap back in and fill the tank. Otherwise any water you put in the top of the tank will run straight out the bottom of the tank.
Once this is done, turn the tap that is feeding your “city water connection” off and go inside. This will essentially disconnect your city water connection. This will then force the system to pull water from the fresh water tank when you turn on a tap (as long as your water pump is turned on). So, turn your water pump on and then run a tap until it too is running clean and clear again.
Finally we need to get that hot water tank up and running again. As it is now, its anode is installed but the tank is empty. You need to find the other side of the hot water tank. For me, Wanda’s hot water tank is hidden behind this unassuming panel.

In my case there are four screws that I need to undo to remove this panel.

What we will find back there is this arrangement of pipes.

The handle on each of those valves points in the direction of its valve, so if it is pointing down the pipe, it the valve is open, if it is pointing away from the pipe, the valve is closed.
So in this configuration, the cold water valve going into the hot water tank is closed. The same is true for the hot water valve leading out of the hot water tank. Alternately, the bypass valve is open.
So what is happening here is that the hot water tank has been bypassed and the cold and hot water lines are now one. What possible use is this? Well, apart from giving you a cold shower, no matter how long you leave the hot water tank on (Seriously not recommended to turn it on at this point) it will let that antifreeze run through the hot water lines as well.
So what we do is open the hot and cold valves and close the bypass valve. This is what it should look like.

Now the hot water tank will fill and in a few minutes you can turn it on and finally have that hot shower, you’ve been wanting to have (in your own shower) for months!
I still don’t have a proper place to fill my water tank, yet but at least I can fill it and I am able to have a shower, wash my hands and simply get water from my taps. I will figure out the water situation yet, but for now, Wanda is fully operational again.
It is weekends like this last one, which makes me like this lifestyle, the warm breeze, the spring cleaning, putting my warm blankets and clothes away. I know that I could stick it out, but I will see what I can see in the real estate market come August, but freedom and cheap living does look nice.
As always: Keep your head up, your attitude positive, and keep moving forward!
No comments:
Post a Comment